
|
Burningman 2012:Cargo Cult
|
|||||||||
|
||||||||||
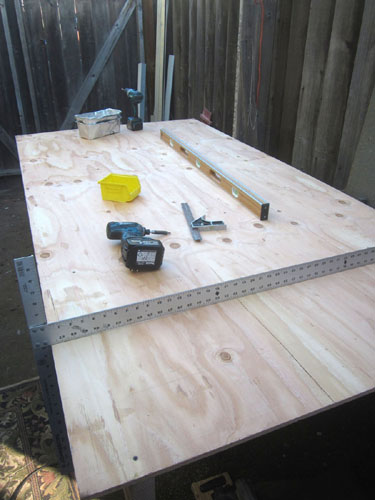
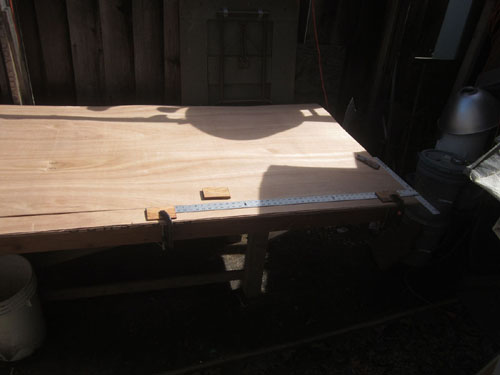
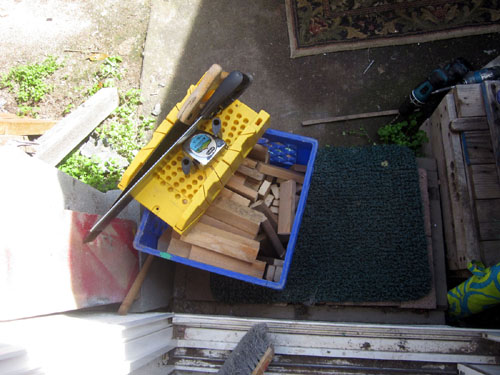
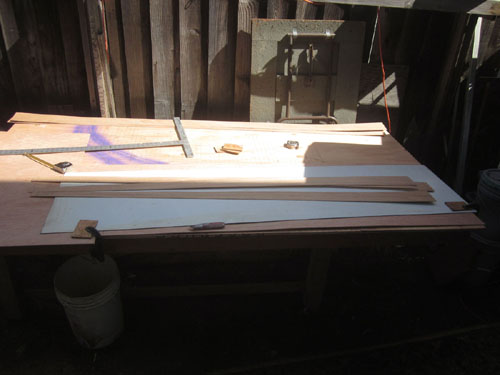
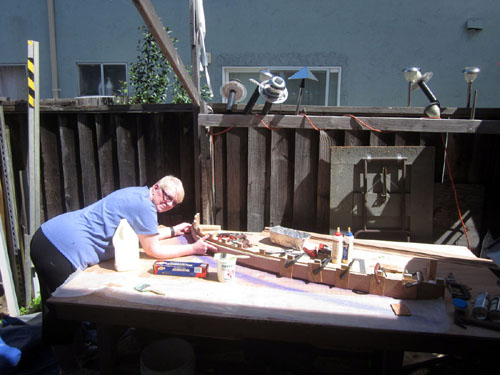
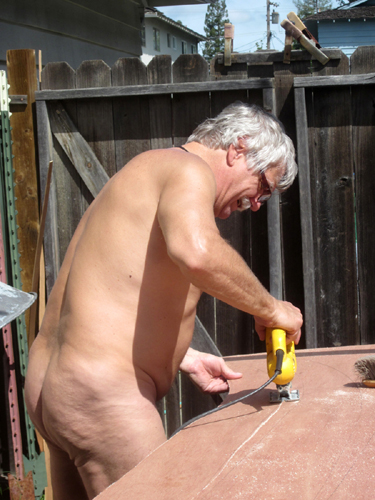
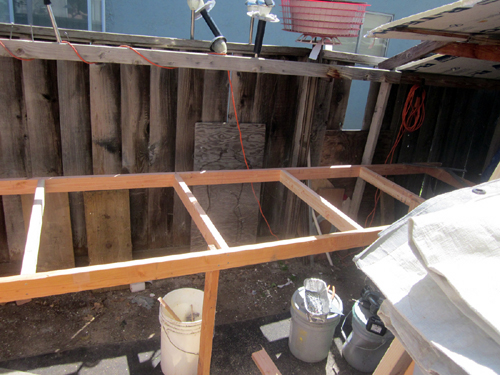
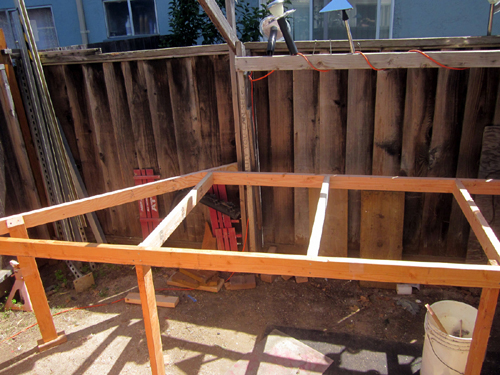
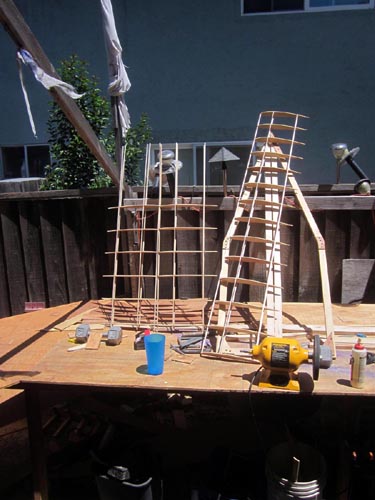
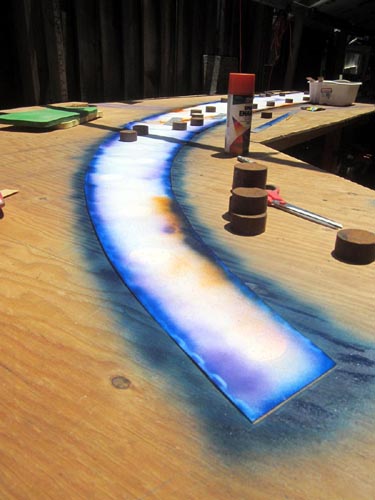
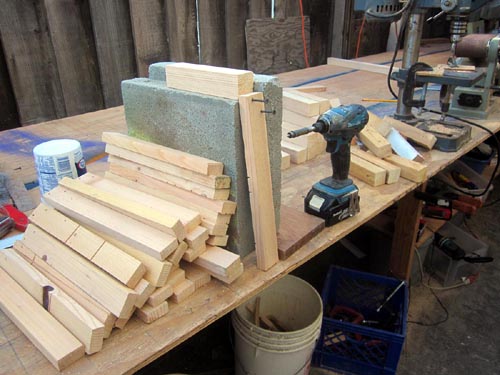
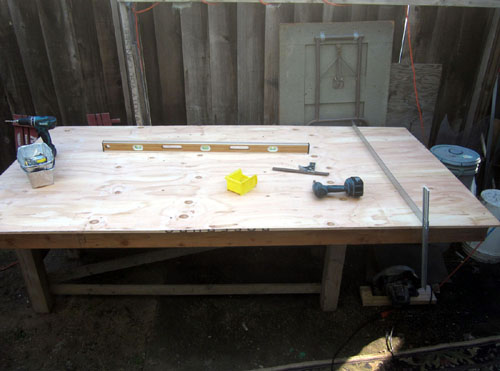 Making a table to build on. med | big | huge |
med | big | huge |
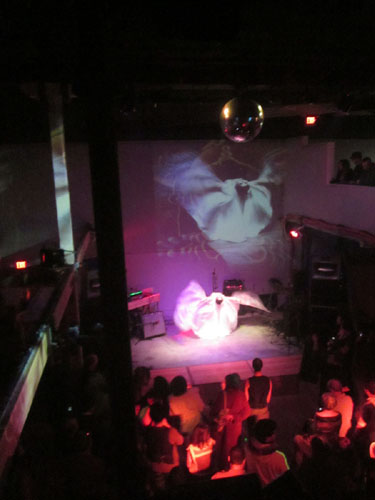
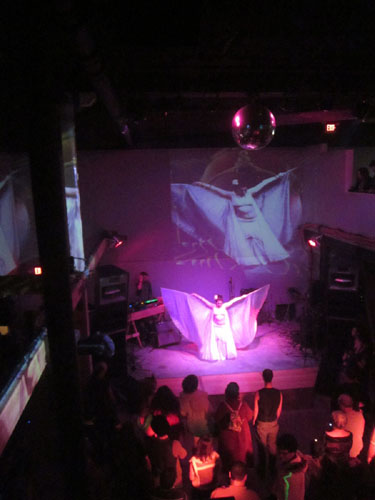
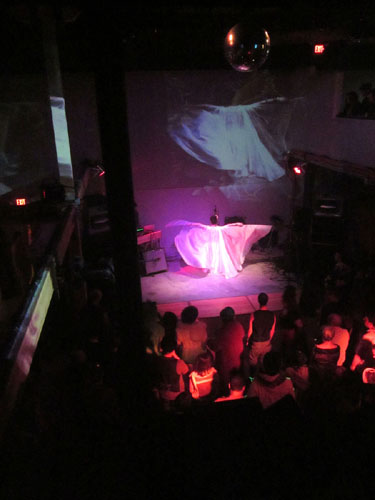 An interesting act at the S.F,Decompression. The only photos I took at the cramped venue med | big | huge |
med | big | huge |
|||||||
med | big | huge |
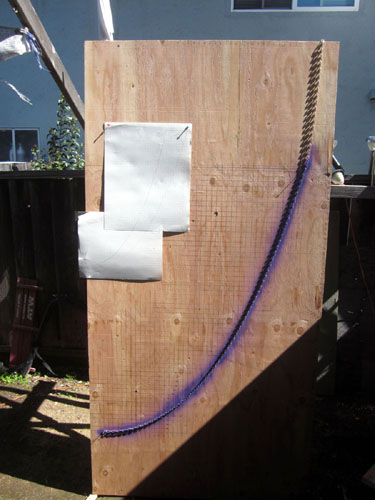
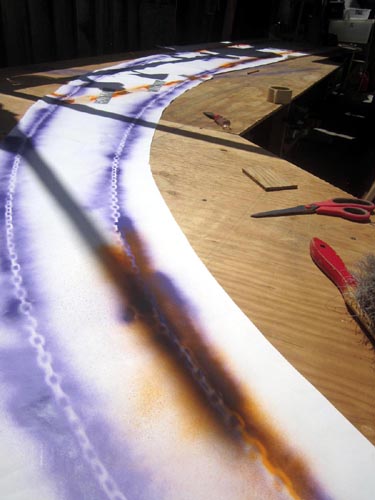
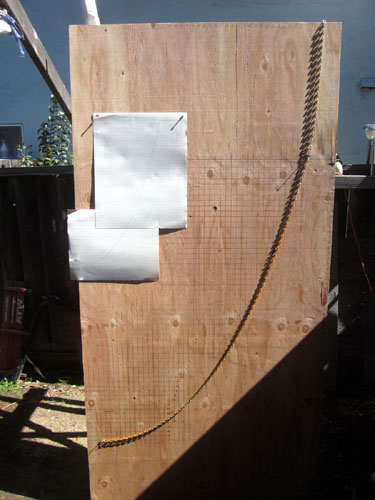 Hanging a chain to make the 1:3 scale model of the arch med | big | huge |
med | big | huge |
 Beginning to cut the tapered strips of 1/8" plywood. I'm making the 2 curved catenary shapes by laminating 5 layers of the plywood all glued together. med | big | huge |
|||||||
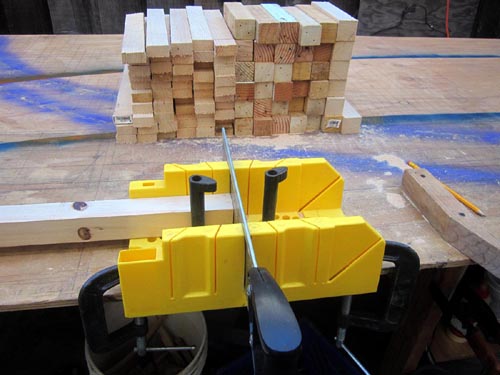
 Miter box and the wood I'll need to make the curved form to bend the glued wood around. med | big | huge |
med | big | huge |
med | big | huge |
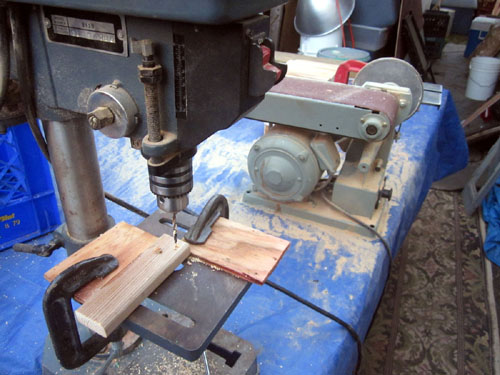
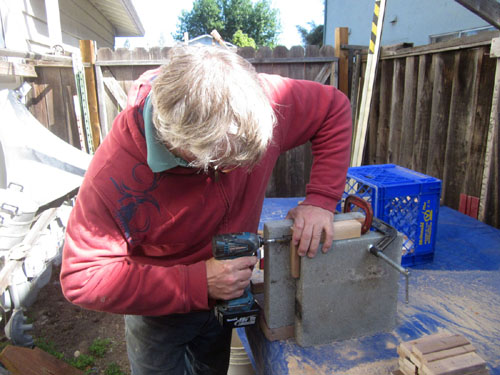
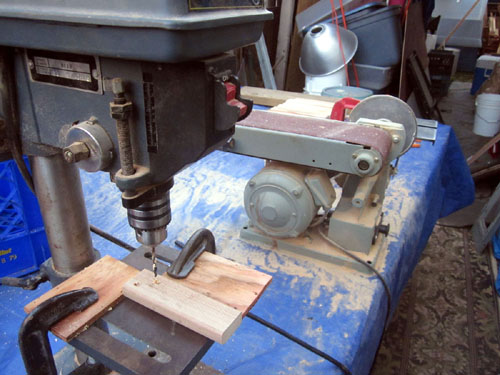 Drilling holes in the 1x2s to make the 'L' brackets med | big | huge |
|||||||
med | big | huge |
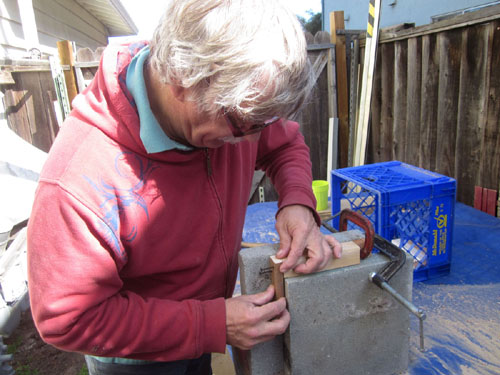
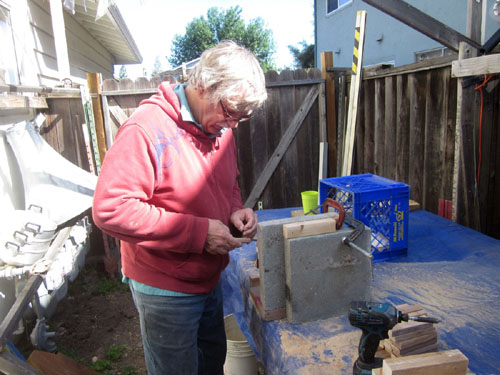 Another jig-this time to make the 'L's nice 90 degree angles. med | big | huge |
med | big | huge |
med | big | huge |
|||||||

med | big | huge |
 'L's screwed to the table, I'm adding a strip of plywood to complete the from. med | big | huge |
med | big | huge |
med | big | huge |
|||||||
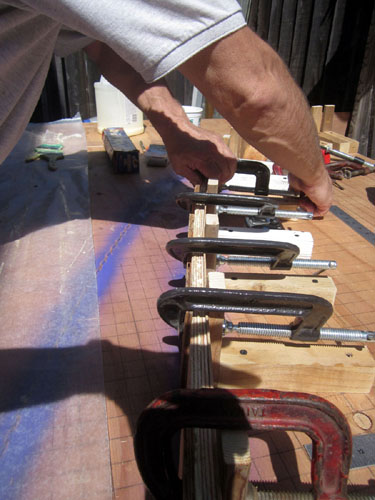
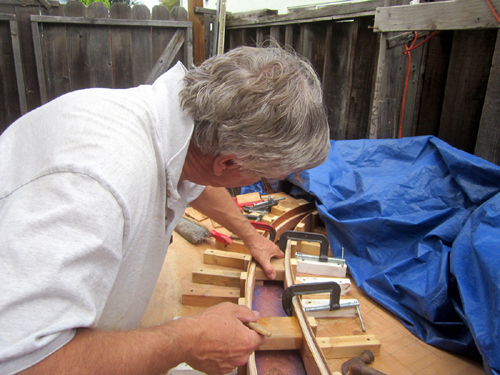
 form glued to the frames and clamped while it dries. med | big | huge |
med | big | huge |
 Covering the plywood form with vaseline to keep the gluey strips of wood from sticking to it. med | big | huge |
med | big | huge |
|||||||
med | big | huge |
 First 5 layer laminate. Glue applied, not need to clamp the stack in place before the glue sets. Gwen lending a hand to hold the wood in place. med | big | huge |
med | big | huge |
med | big | huge |
|||||||
med | big | huge |
med | big | huge |
med | big | huge |
med | big | huge |
|||||||
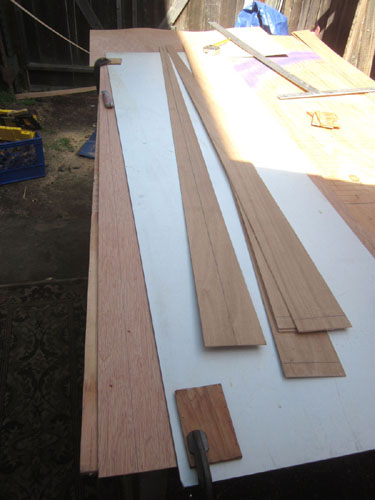
 Cutting more strips of 1/8th" wood. With 1/8" plywood, cutting with a stanley knife is easier than using a saw. med | big | huge |
med | big | huge |
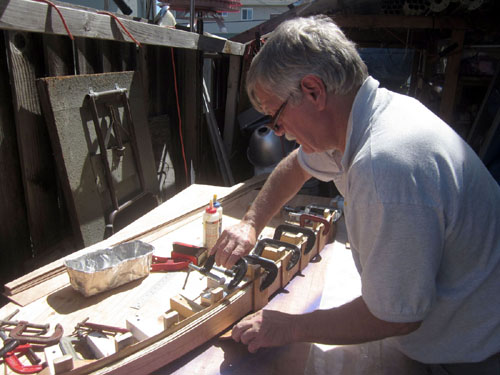
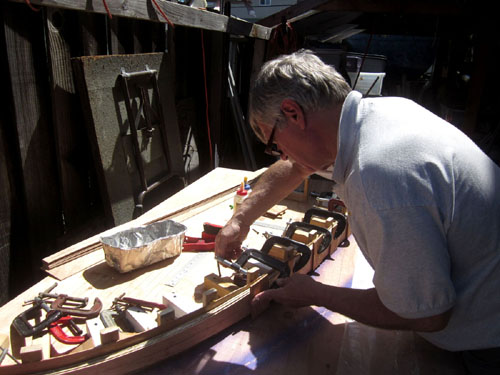
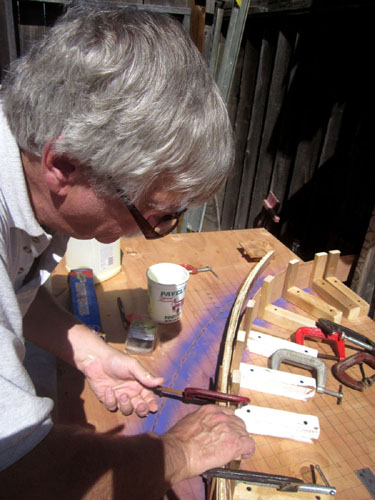
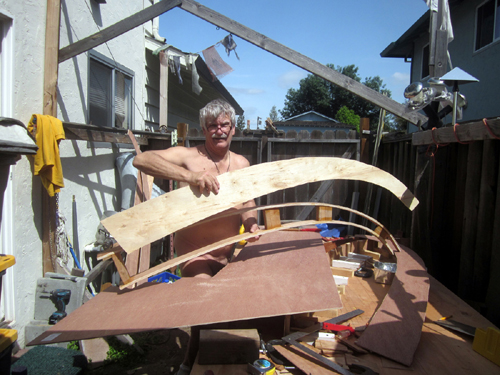
 Gluing the lams to make the next arch. 3 Inner and 3 outer arch laminates are needed. med | big | huge |
 Setting up the form for the outer arch after the 3 inner arches have been glued together. med | big | huge |
|||||||
med | big | huge |
med | big | huge |
med | big | huge |
med | big | huge |
|||||||
med | big | huge |
 Cutting off the un-needed tops of the 'L' frames. med | big | huge |
med | big | huge |
med | big | huge |
|||||||
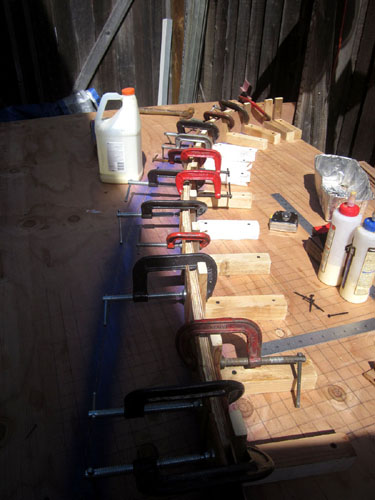
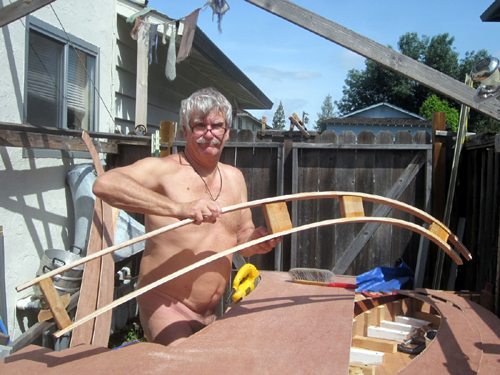
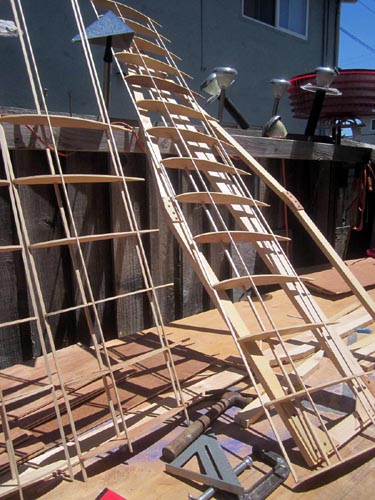
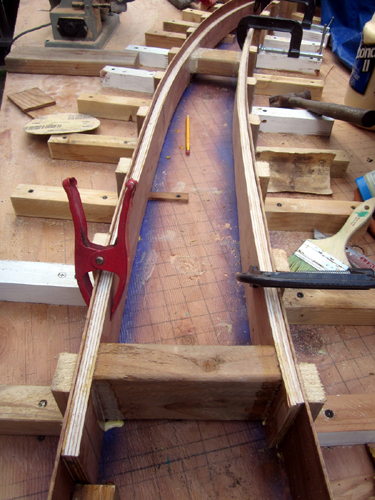 Adding braces to connect 2 of the completed inner and outer arch shapes to each other using the forms to hold them at the proper distances. med | big | huge |
med | big | huge |
med | big | huge |
med | big | huge |
|||||||
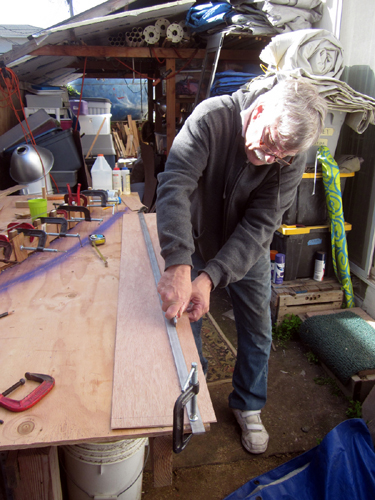
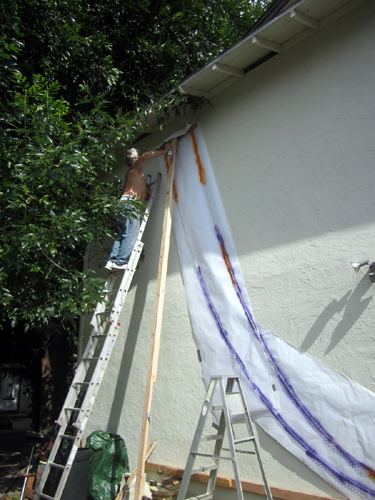
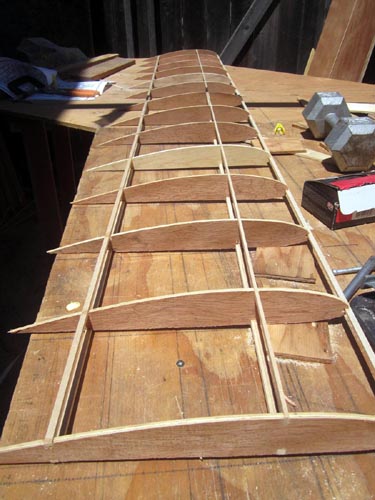
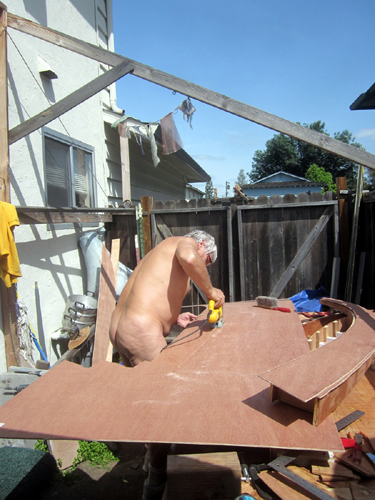 Cutting the faces for the cross connected arches. (Working between 2 buildings, I only get 3 hours of sunlight to work on my all over tan pre playa. Important so I don't burn when I hit the desert.) med | big | huge |

med | big | huge |
med | big | huge |
med | big | huge |
|||||||
med | big | huge |
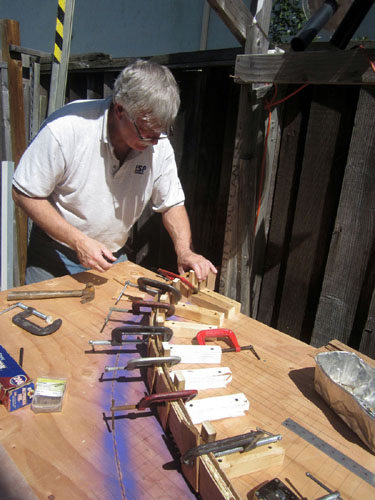
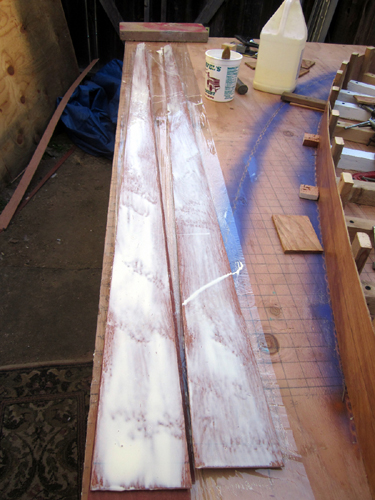
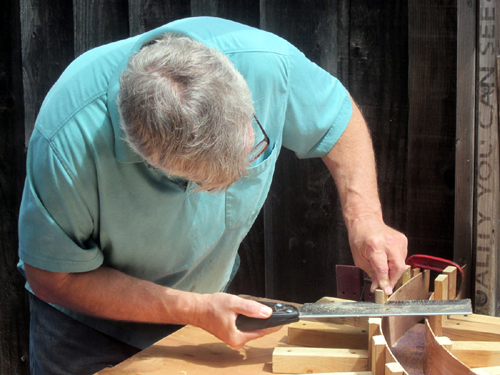
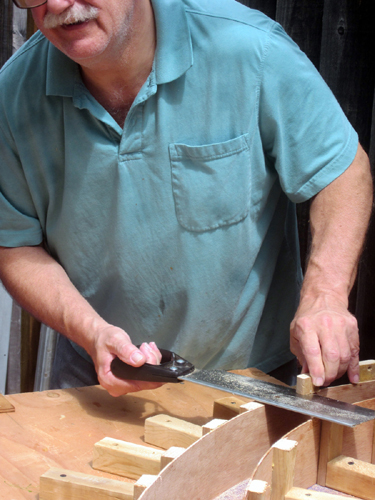
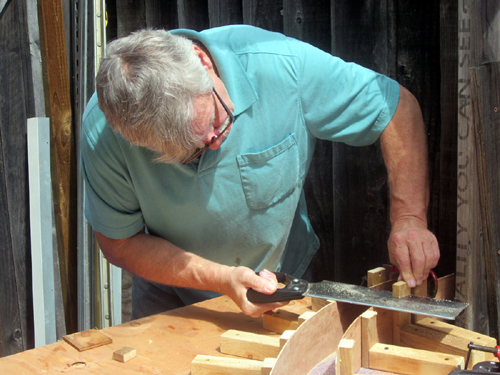
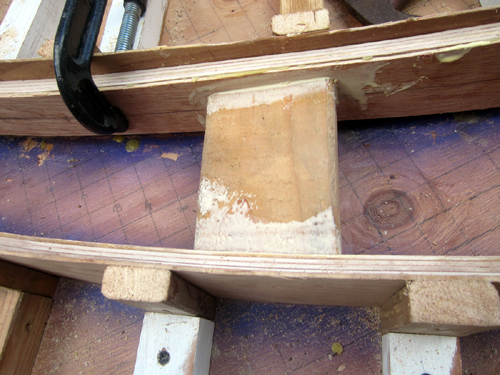
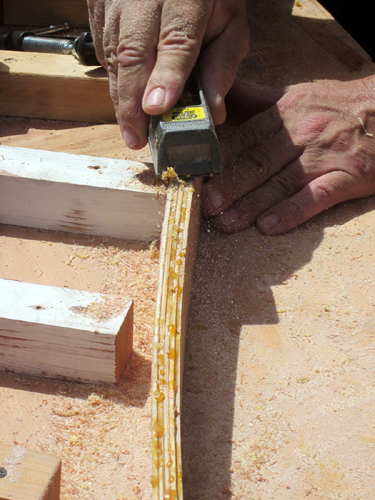
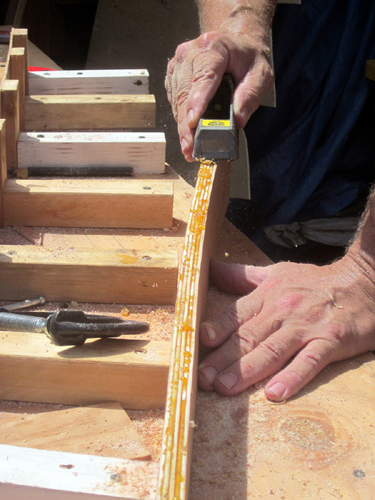 Cleaning up the edges of the glued arch laminates. med | big | huge |
med | big | huge |
med | big | huge |
|||||||

med | big | huge |
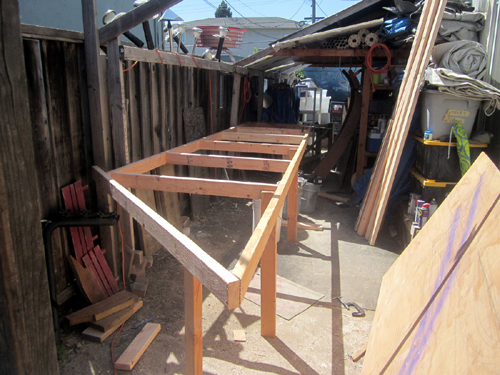
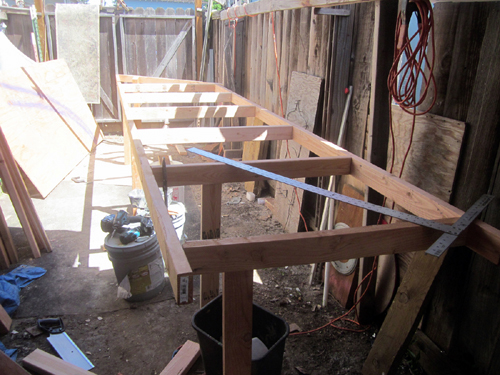
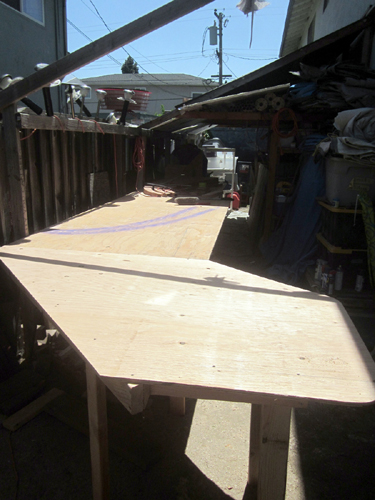
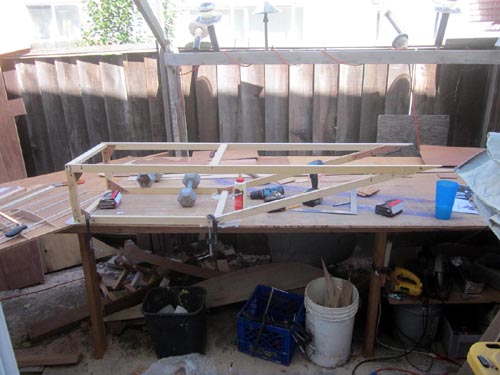
 With the 1:3 scale model nearly done, it's time to build a bigger work table to build the full sized version. This time it will be about 18' long with a 'J' shaped hook at one end. med | big | huge |
med | big | huge |
med | big | huge |
|||||||
med | big | huge |
med | big | huge |
med | big | huge |

med | big | huge |
|||||||
 Drawing of the full sized table med | big | huge |
med | big | huge |
med | big | huge |
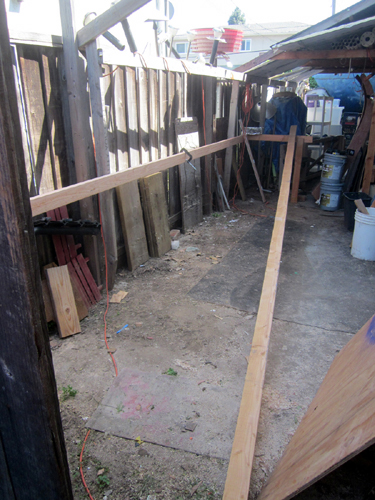
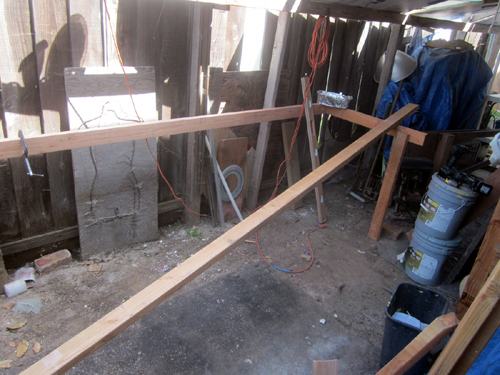
 Hanging much longer chains on the back wall of my 4-plex to establish the catenary shape for the full sized version. med | big | huge |
|||||||
med | big | huge |
med | big | huge |
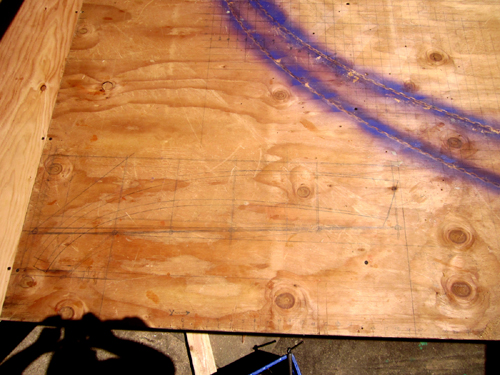
 To make the full sized version, I'm using 5 lams of 1/4" plywood. The outer arch is 18' 7.5" so it takes 3-4 strips of wood. Since I didn't want all the seams to be at he same place, I needed to cut 16 different shaped pieces of work for the outer arch and 15 different shapes for the inner arch. Each shape needs 3 duplicates. med | big | huge |
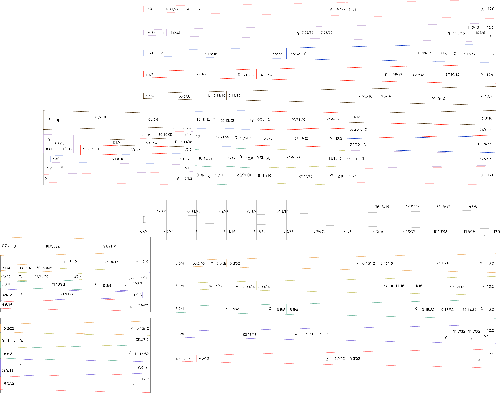 This image (You need to look at the 'huge' version to see the details) is of an illustrator drawing I made to establish the 30+ shapes needed to make the arches. Also in the drawing is how the shapes fit onto sheets of plywood. med | big | huge |
|||||||
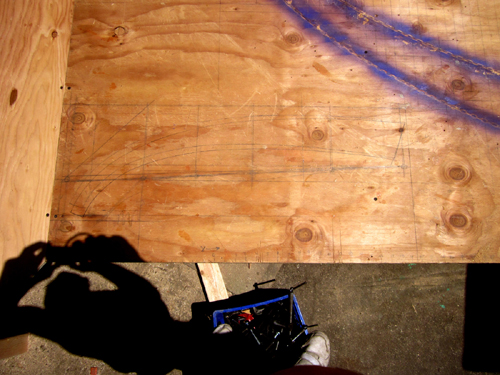
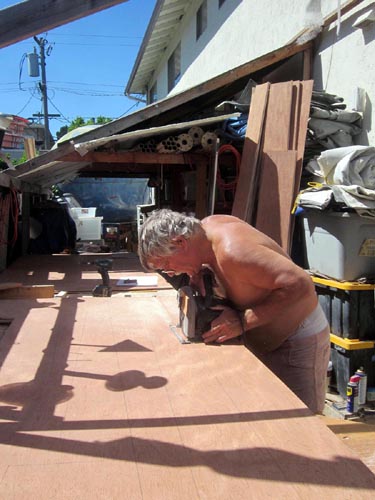
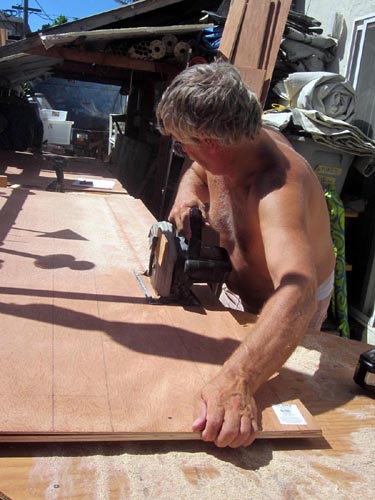
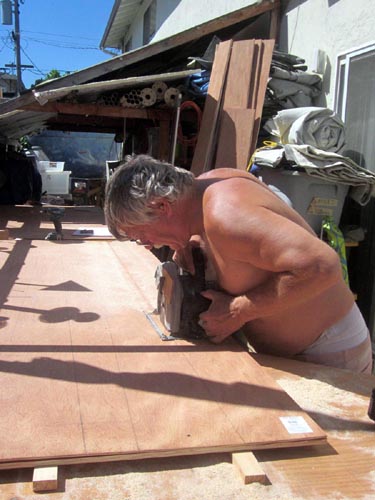
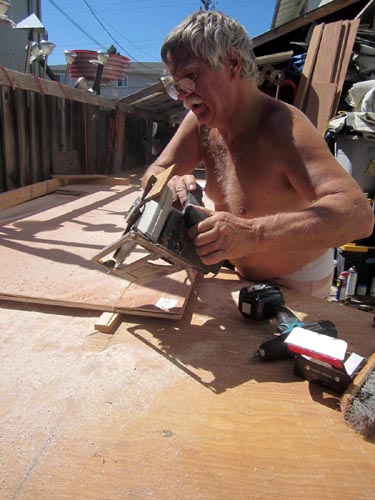
 I screwed 3 sheets of plywood together to cut all the duplicates at the same time. med | big | huge |
med | big | huge |
med | big | huge |
med | big | huge |
|||||||
med | big | huge |
 In between arch tasks, I'm working on my version of the Red Sparrows airplane. These are the first version of the wings. (I decided to make stroger versions later because I want to show it at several event before hitting the playa.) med | big | huge |
med | big | huge |
med | big | huge |
|||||||
 My Red Sparrow fusilge taking shape. med | big | huge |
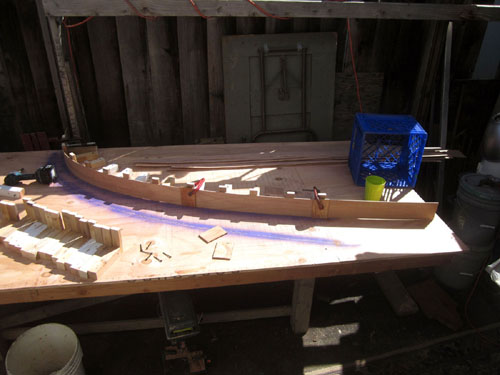
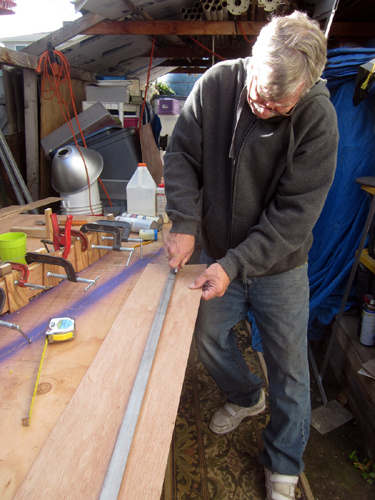
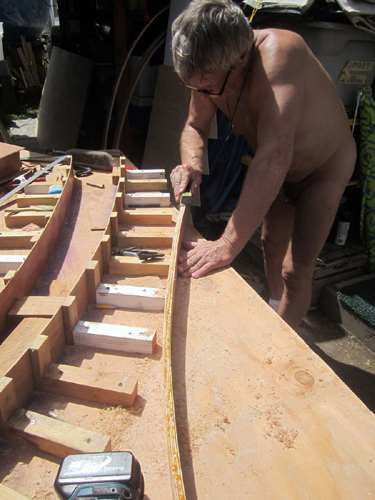
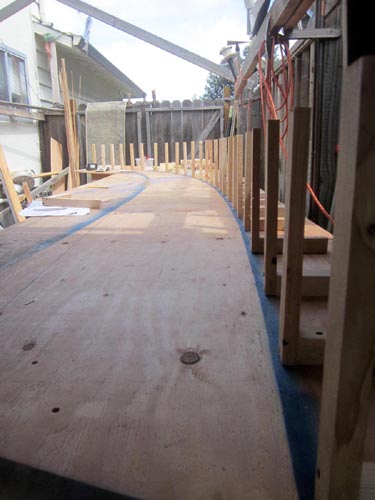
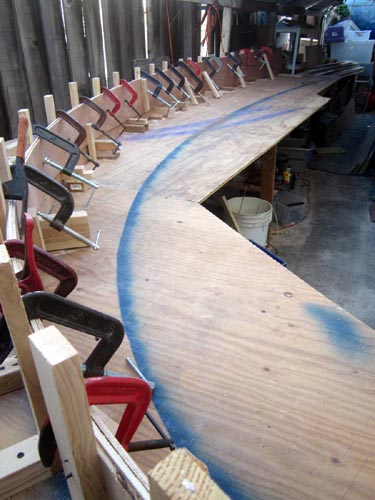
 Transferring the full sized arch pattern to the big table. med | big | huge |
med | big | huge |
med | big | huge |
|||||||
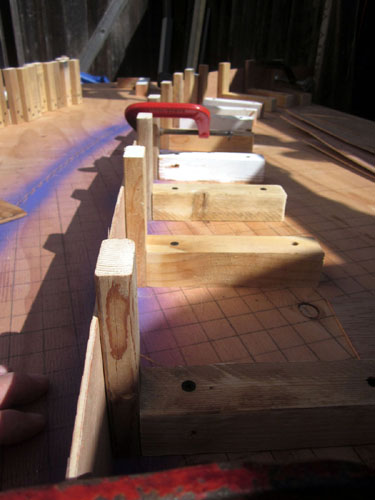
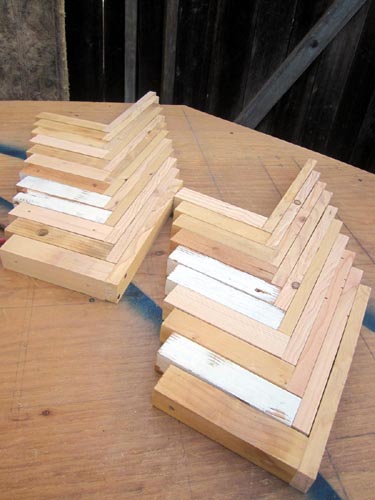
 Cutting wood for the full sized 'L' brackets. med | big | huge |
med | big | huge |
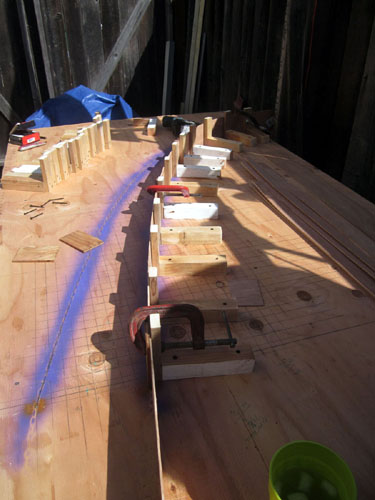
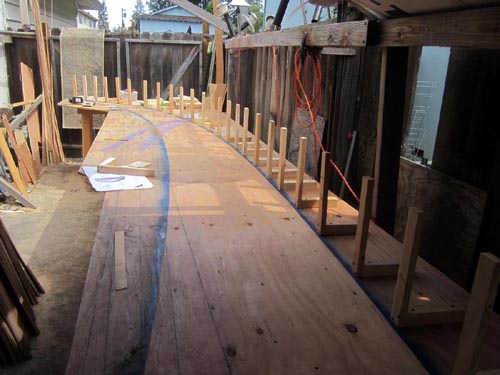
 Screwing down the 'L's along the path of the outer arch. med | big | huge |
med | big | huge |
|||||||
med | big | huge |
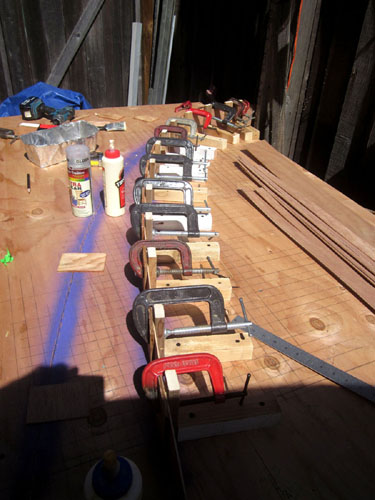
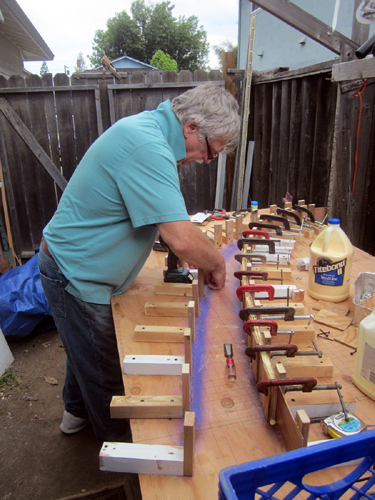
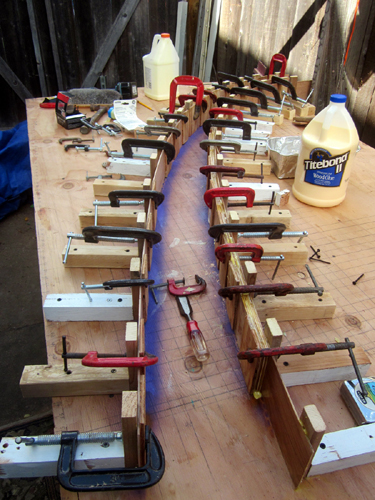
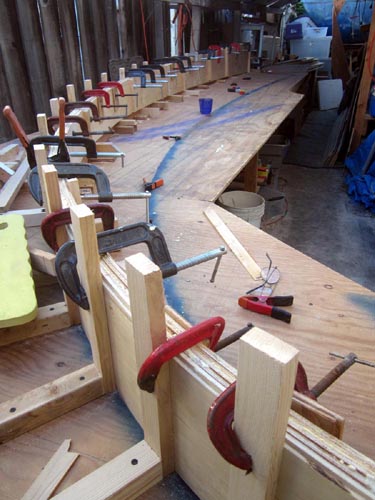
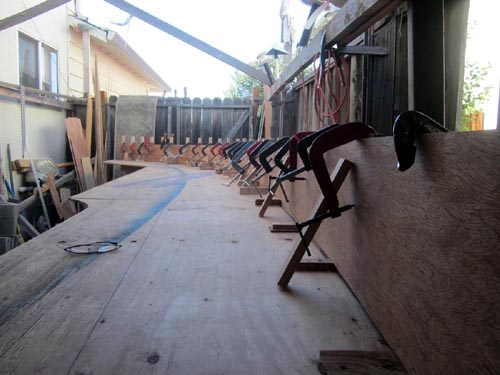 Form done-about to glue the first set of 16 plywood strips to make the first full sized outer arch. med | big | huge |
med | big | huge |
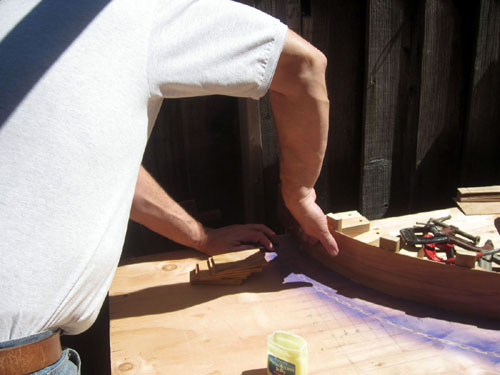
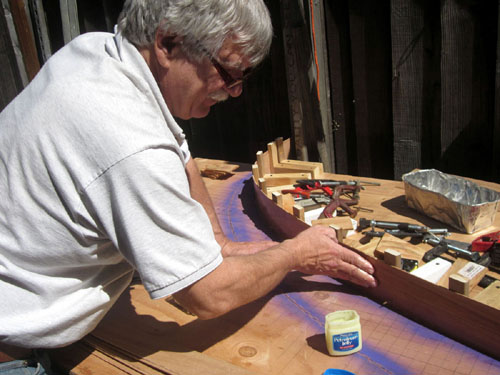
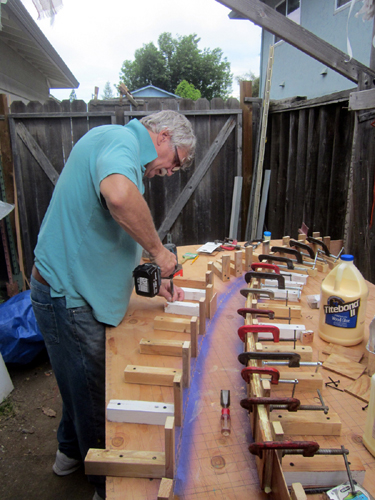
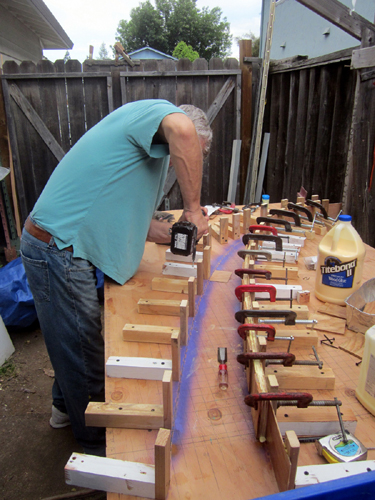
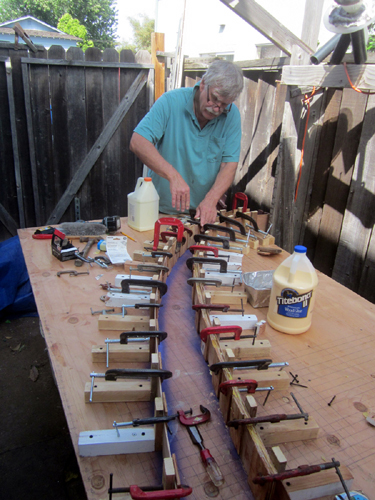
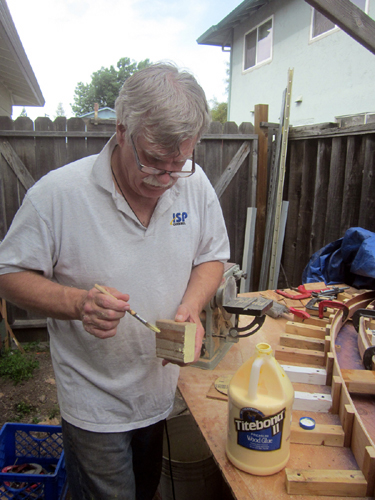
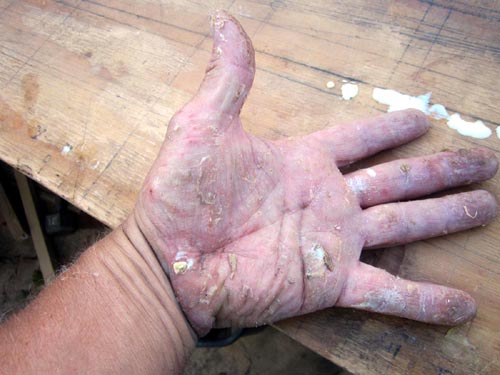 Spreading all that glue is a messy job! med | big | huge |
|||||||
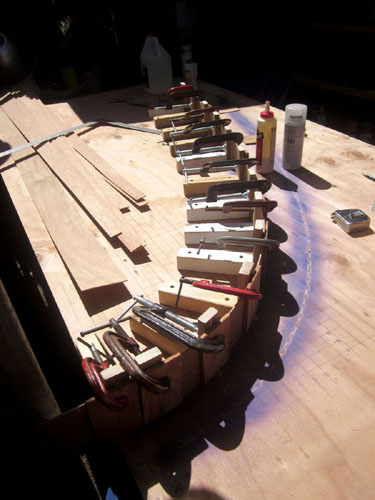
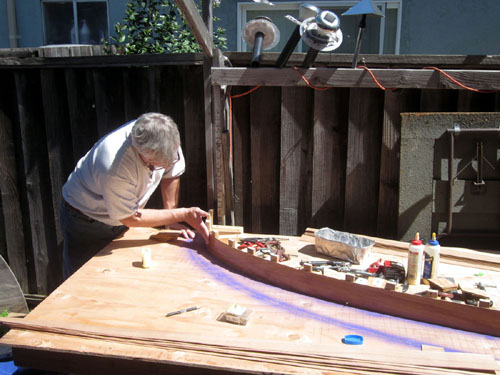
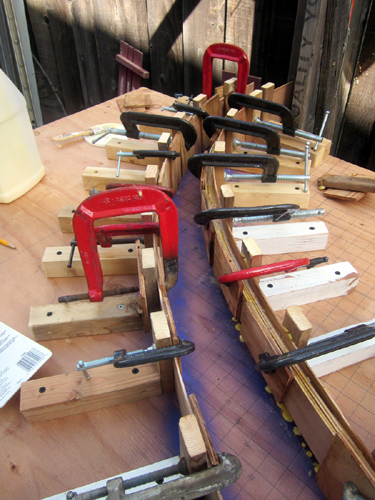
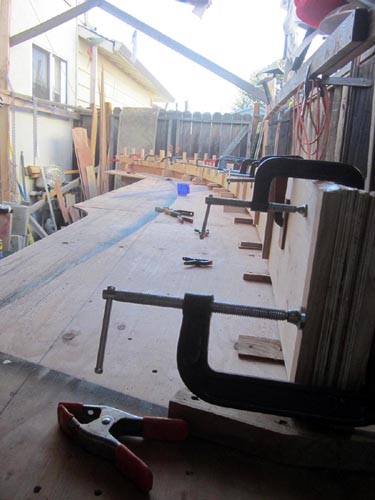 First outer arch glued together and clamped to the form. med | big | huge |
med | big | huge |
|||||||||